How To Build a SaaS Website That Sells
Here’s our step‑by‑step website build process to launch a high‑converting, non‑cookie‑cutter SaaS site. Read now.

The fastest way to a high‑converting SaaS website design is to treat it like a SaaS product, not a one‑off design task. Understanding SaaS development fundamentals, SaaS development cost considerations, and how to build a saas solution effectively will help you create a SaaS application that converts visitors into customers.
Each stage of the build process (from strategy workshops to wireframes, UI, design systems, and launch) should systematically reduce risk and increase clarity so more of the right visitors become demos and trials for your SaaS business.
Below is a step‑by‑step build process you can follow (or hand off to a specialist studio) to ship a sales-ready marketing site without endless redesigns.
Book a call
How To Build a SaaS Website That Sells (Step-by-Step)
A step‑by‑step build process keeps your website from turning into a generic, cookie‑cutter SaaS template that could belong to any product. By moving through each stage in order, you make deliberate decisions instead of defaulting to whatever your theme or builder suggests. This structure gives you a site that looks and feels uniquely yours while still following proven patterns that drive demos and signups.
Step 1: Strategy, ICP and Messaging

Every strong SaaS website starts long before Figma or Webflow development. It starts with a clear story about who you serve and what they need from your SaaS solution. Successful SaaS companies conduct thorough market research and competitor analysis to define their core value proposition and understand industry trends. A robust strategy phase typically includes:
- Strategy survey: A structured questionnaire across brand, customer, product, and category that forces your team to get specific about ICPs, pains, and differentiation before any design begins. Consider your target audience, customer acquisition cost, and customer lifetime value to ensure your pricing strategy aligns with business goals.
- Website strategy workshop: A remote or in‑person session where you align on business goals, user goals, technical constraints, and success metrics for the new site. Project managers and stakeholders should discuss SaaS pricing models (including tiered pricing and per user pricing), monthly recurring revenue targets, and annual recurring revenue projections.
- Product positioning and narrative: Analysis of your category and closest competitors, followed by SaaS brand positioning decisions and a messaging framework that connects customer problems to your core features and outcomes. Define your value proposition and how your SaaS provider status delivers numerous advantages over traditional software applications.
By the end of this stage you should have a written website specification: a document that outlines page priorities, communication strategy per page, and a clear brief for the UX and design phases, plus a feedback framework that keeps review cycles efficient.
Step 2: Information Architecture and Sitemap
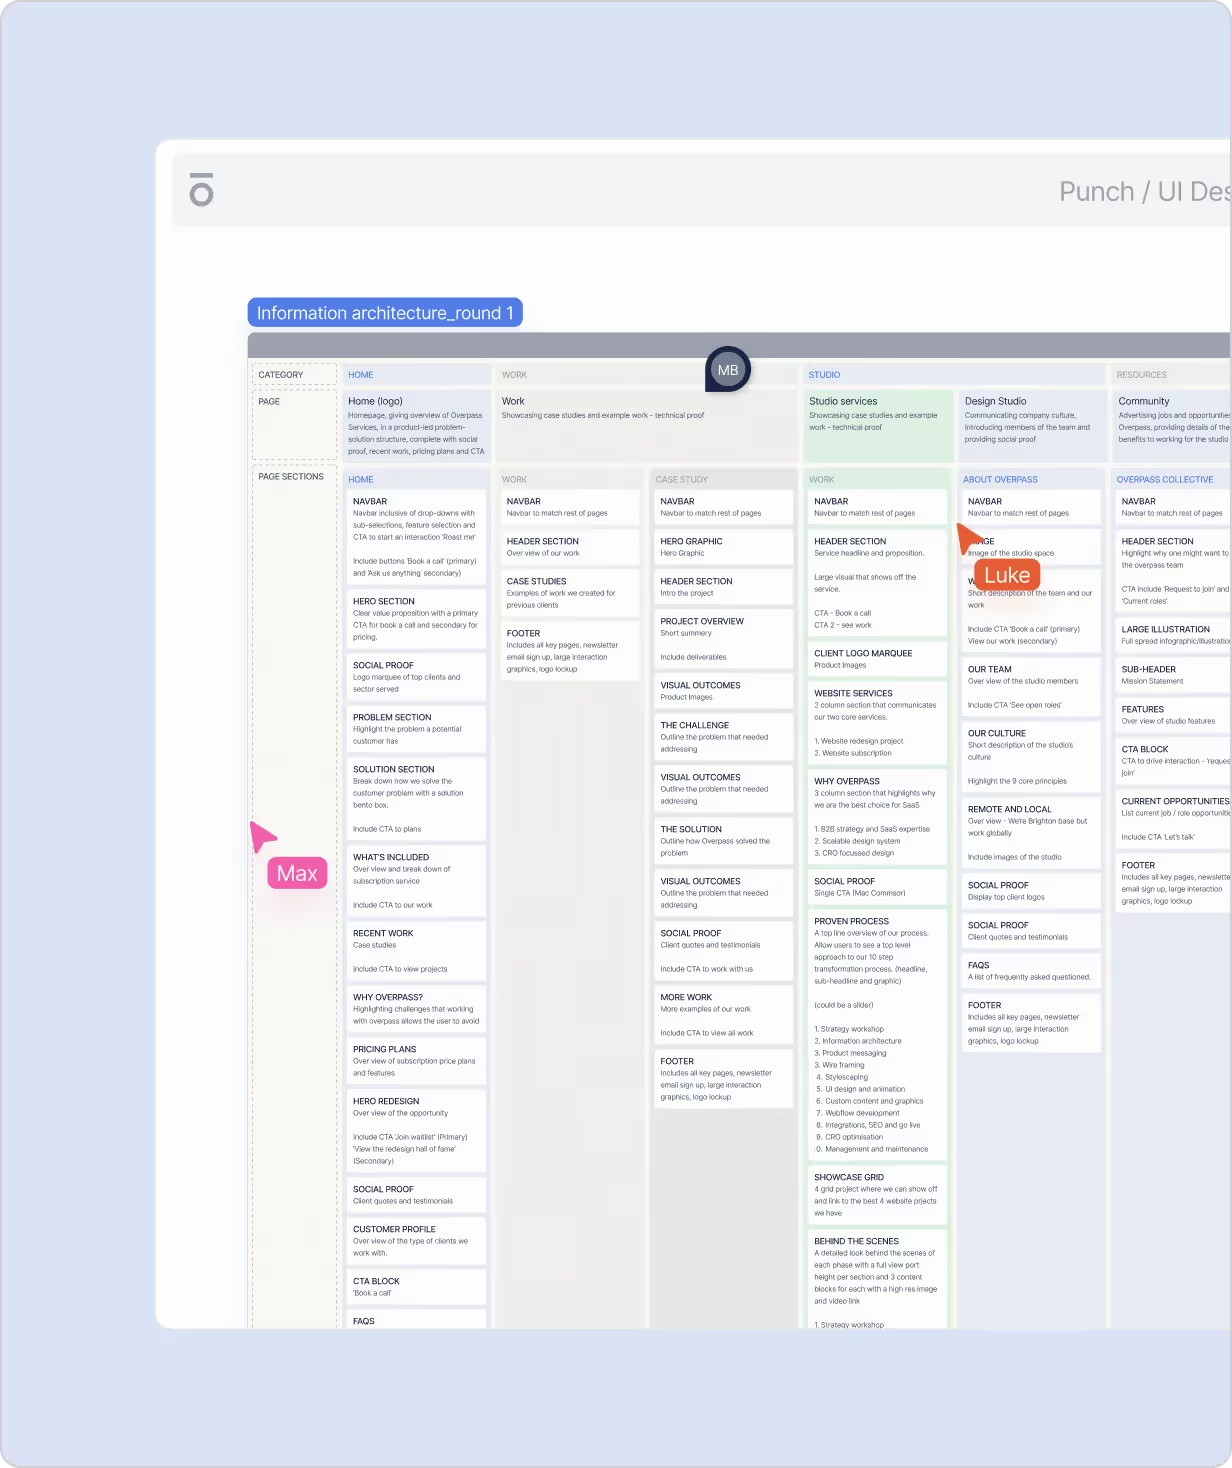
Once strategy is locked, the next job is to give it structure so visitors can actually find and consume what they need. Consider how real users and your first customers will navigate your web application. This usually breaks down into:
- Sitemap: A visual flowchart showing all pages (e.g., Home, Product, Solutions, Pricing Model, Resources, About, Demo) and how they link together, including navigation and footer patterns. Structure should support your software as a service model and help attract users efficiently.
- Page‑level information architecture: For each key page, define the sections and narrative flow (hero, problem, product, proof, pricing, FAQs, CTAs) so you can see the story before copy or design. Plan how to showcase your technology stack, cloud infrastructure, and data security measures that differentiate your SaaS platform.
This early IA work stops scope creep later and ensures that every page has a job: attracting, educating, or converting a specific kind of visitor into your user base of active users.
Get conversion audit
Step 3: Product Messaging and Homepage Copy
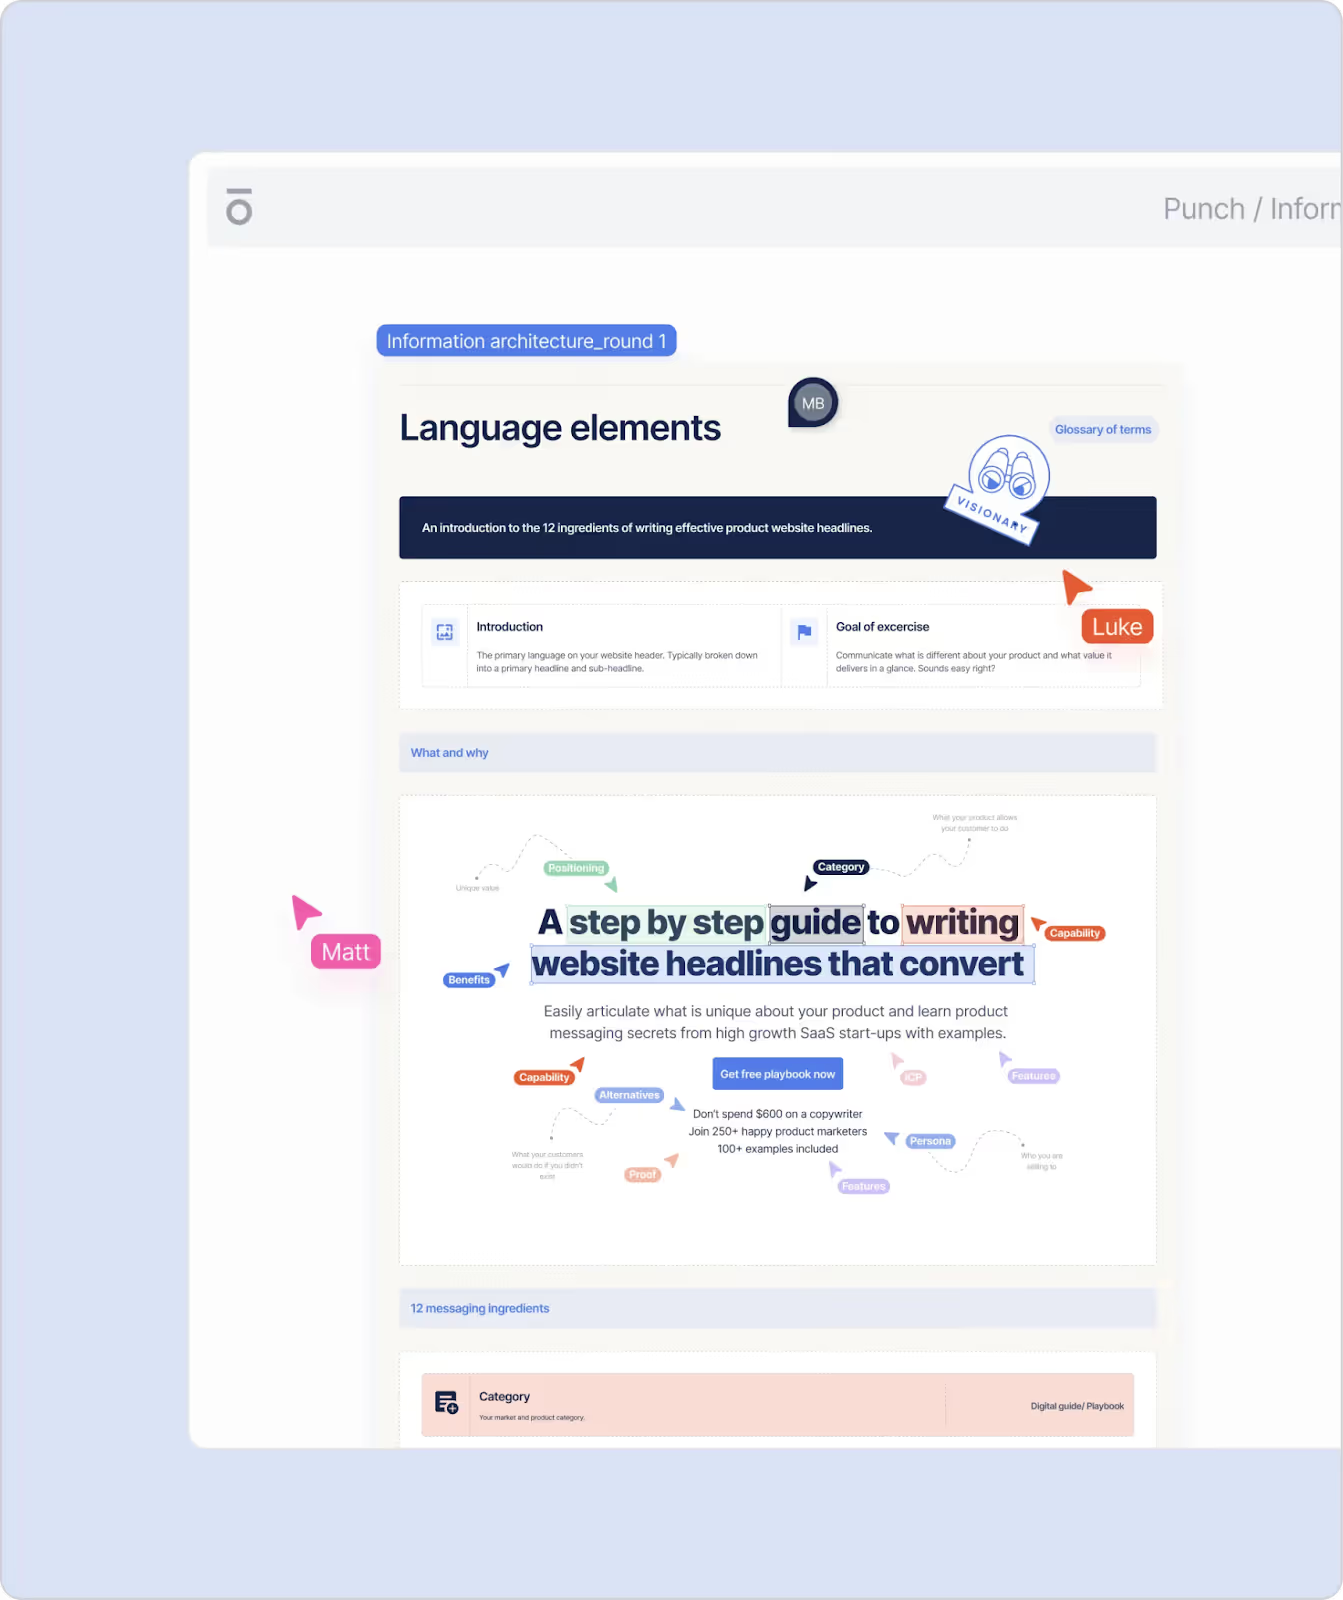
With structure in place, you now turn strategy into words that sell. This is where many founder‑built sites fall down: generic copy, unclear offers, and no narrative thread. Understanding the SaaS market and what makes SaaS platforms successful is crucial.
A focused messaging phase should include:
- Product positioning: Mapping where you sit in the market relative to competitors and which gaps you can credibly own. Consider how your SaaS app compares to other SaaS applications and what makes your software product unique.
- Product narrative: Defining the journey from customer problems to capabilities and benefits, so every section of your site connects back to outcomes your ICP actually cares about. Emphasize immediate value, how customers pay through a transparent recurring fee or recurring revenue model, and the customer experience they can expect.
- Homepage copy document: A dedicated copy spec for your homepage that applies best‑practice SaaS layouts and conversion copy techniques to your product story, written before visual design. Include your landing page strategy, how users can access your software services via any internet connection, and benefits like cloud storage and integration with tools like Google Workspace or AWS services.
This gives you a clear, conversion‑ready script so your hero, feature blocks, and proof sections all pull in the same direction instead of being stitched together after the fact.
Step 4: Wireframes and Interactive Prototype
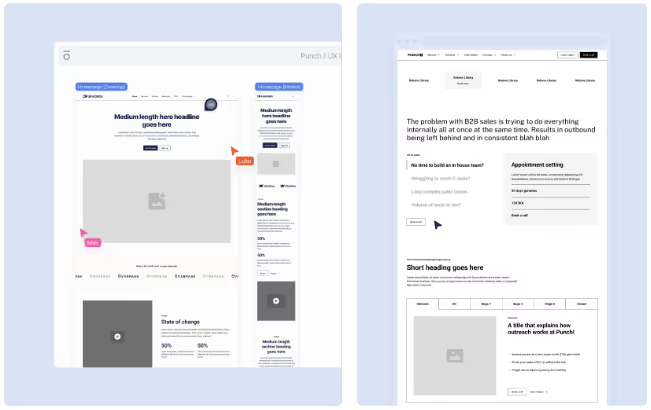
Wireframes are where the strategy, IA, and copy come together into a tangible experience, without the distraction of color, typography, or illustration. This phase helps you prioritize features and plan your minimum viable product (MVP). An effective wireframing workflow normally runs:
- Low‑fidelity wireframes: Rapid layouts of each key page (desktop and mobile) using placeholder or light contextual copy, focused on hierarchy, narrative, and placement of CTAs and proof. Consider user stories to ensure the design meets real users' needs.
- High‑fidelity wireframes: Refined layouts with ready‑to‑publish copy, covering all core pages so you understand the full story and flows before UI styling. Map out specific features, usage limits for different paid plans, and how the file structure supports scalability.
- Interactive prototype: A clickable prototype that lets you move through the site, test journeys, and gather stakeholder feedback while changes are still cheap and fast. This is your opportunity to gather feedback and refine before committing to full development.
Treat this like a pre‑build demo of your future site: it's where you fix UX issues, validate flows, and make sure the structure supports signups and demos. Think of it as testing your SaaS application development approach with minimal investment.
Step 5: Art Direction and Visual Routes
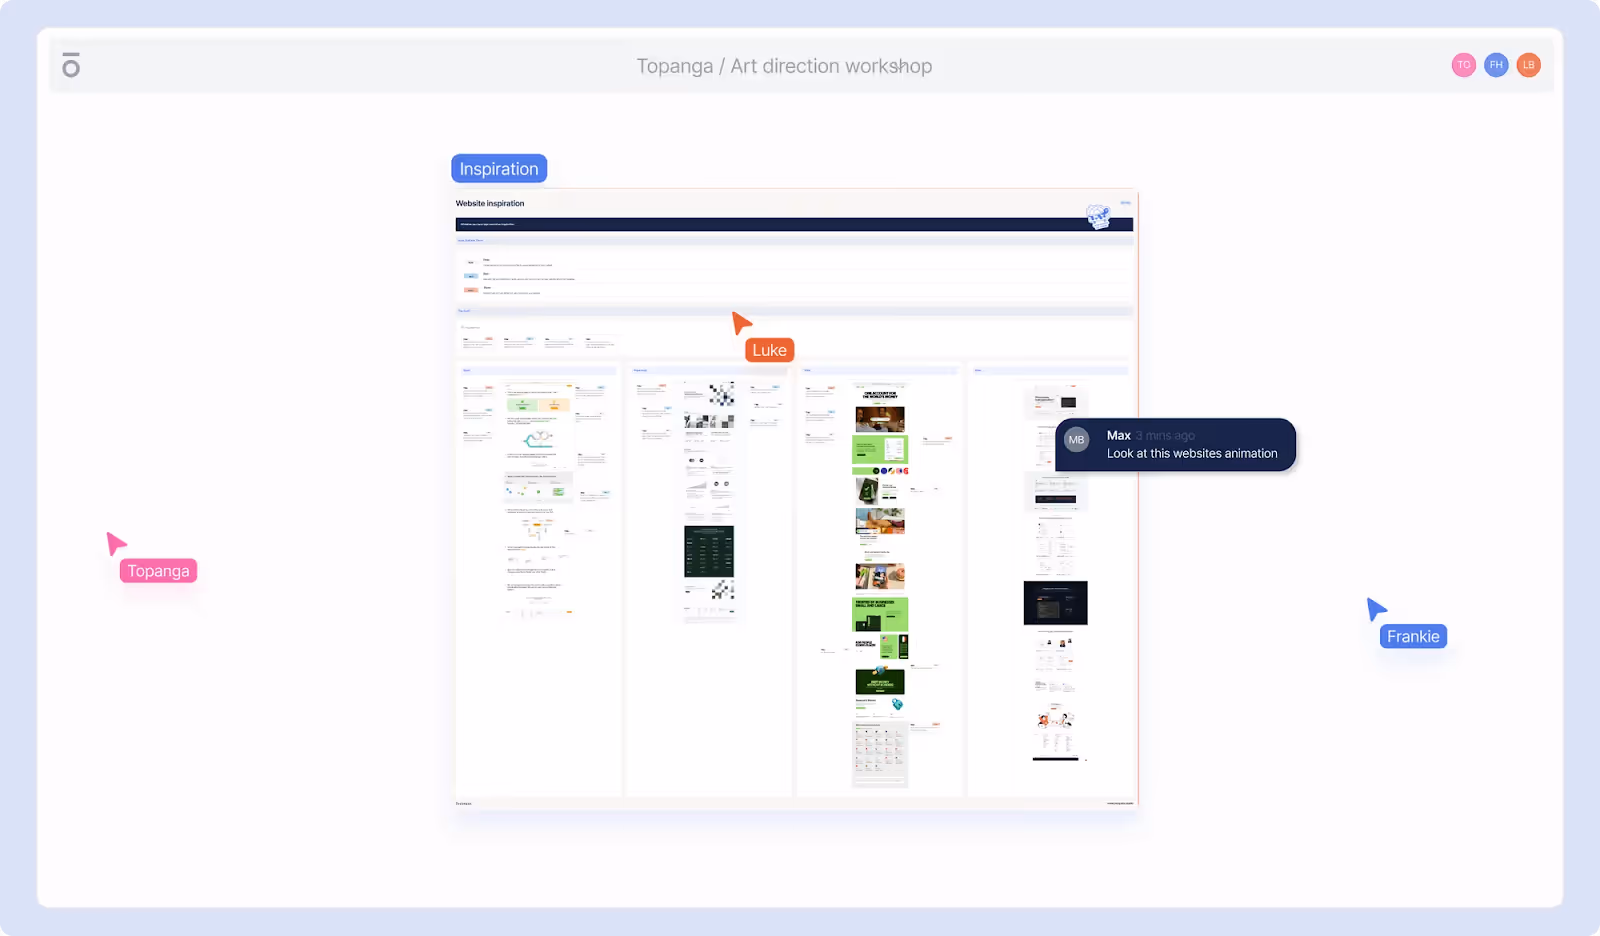
Once the skeleton is right, you can safely move into visual direction—how your SaaS brand shows up on the site to create trust, differentiation, and clarity. SaaS development requires balancing functionality with aesthetic appeal. A structured art direction phase often includes:
- Category analysis: A visual scan of competitor sites and adjacent brands to understand category norms and identify open territory you can own. Review how other SaaS providers present their tech stack and project management capabilities.
- Inspiration "safaris": Curated examples from inside and outside your niche to align your team on what feels right (and wrong) for your brand.
- Visual axis and moodboards: Mapping your desired style along axes (e.g., playful–serious, minimal–rich, modern–classic) and building collaborative moodboards that capture that direction.
From here, you progress into stylescapes and early UI concepts that turn abstract direction into concrete on‑screen ideas.
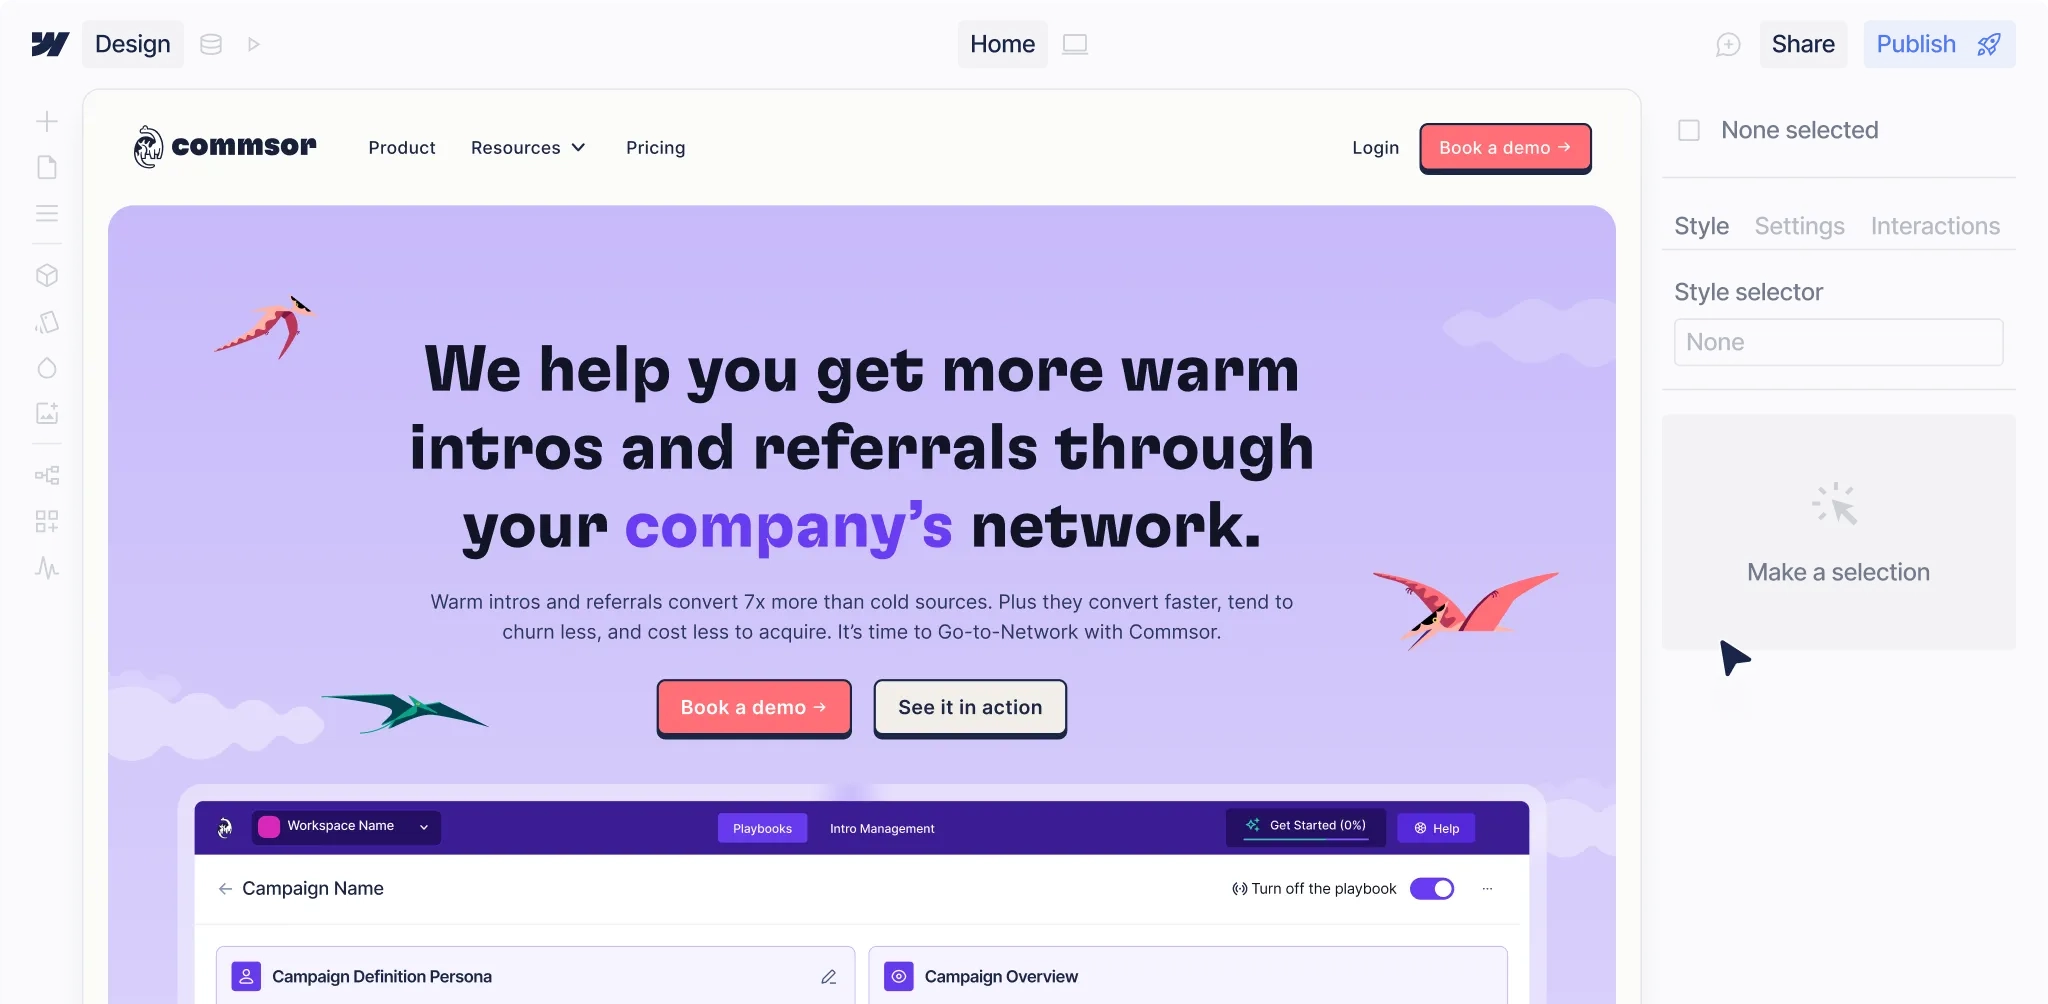
Step 6: Stylescapes, UI Concepts and Refinement
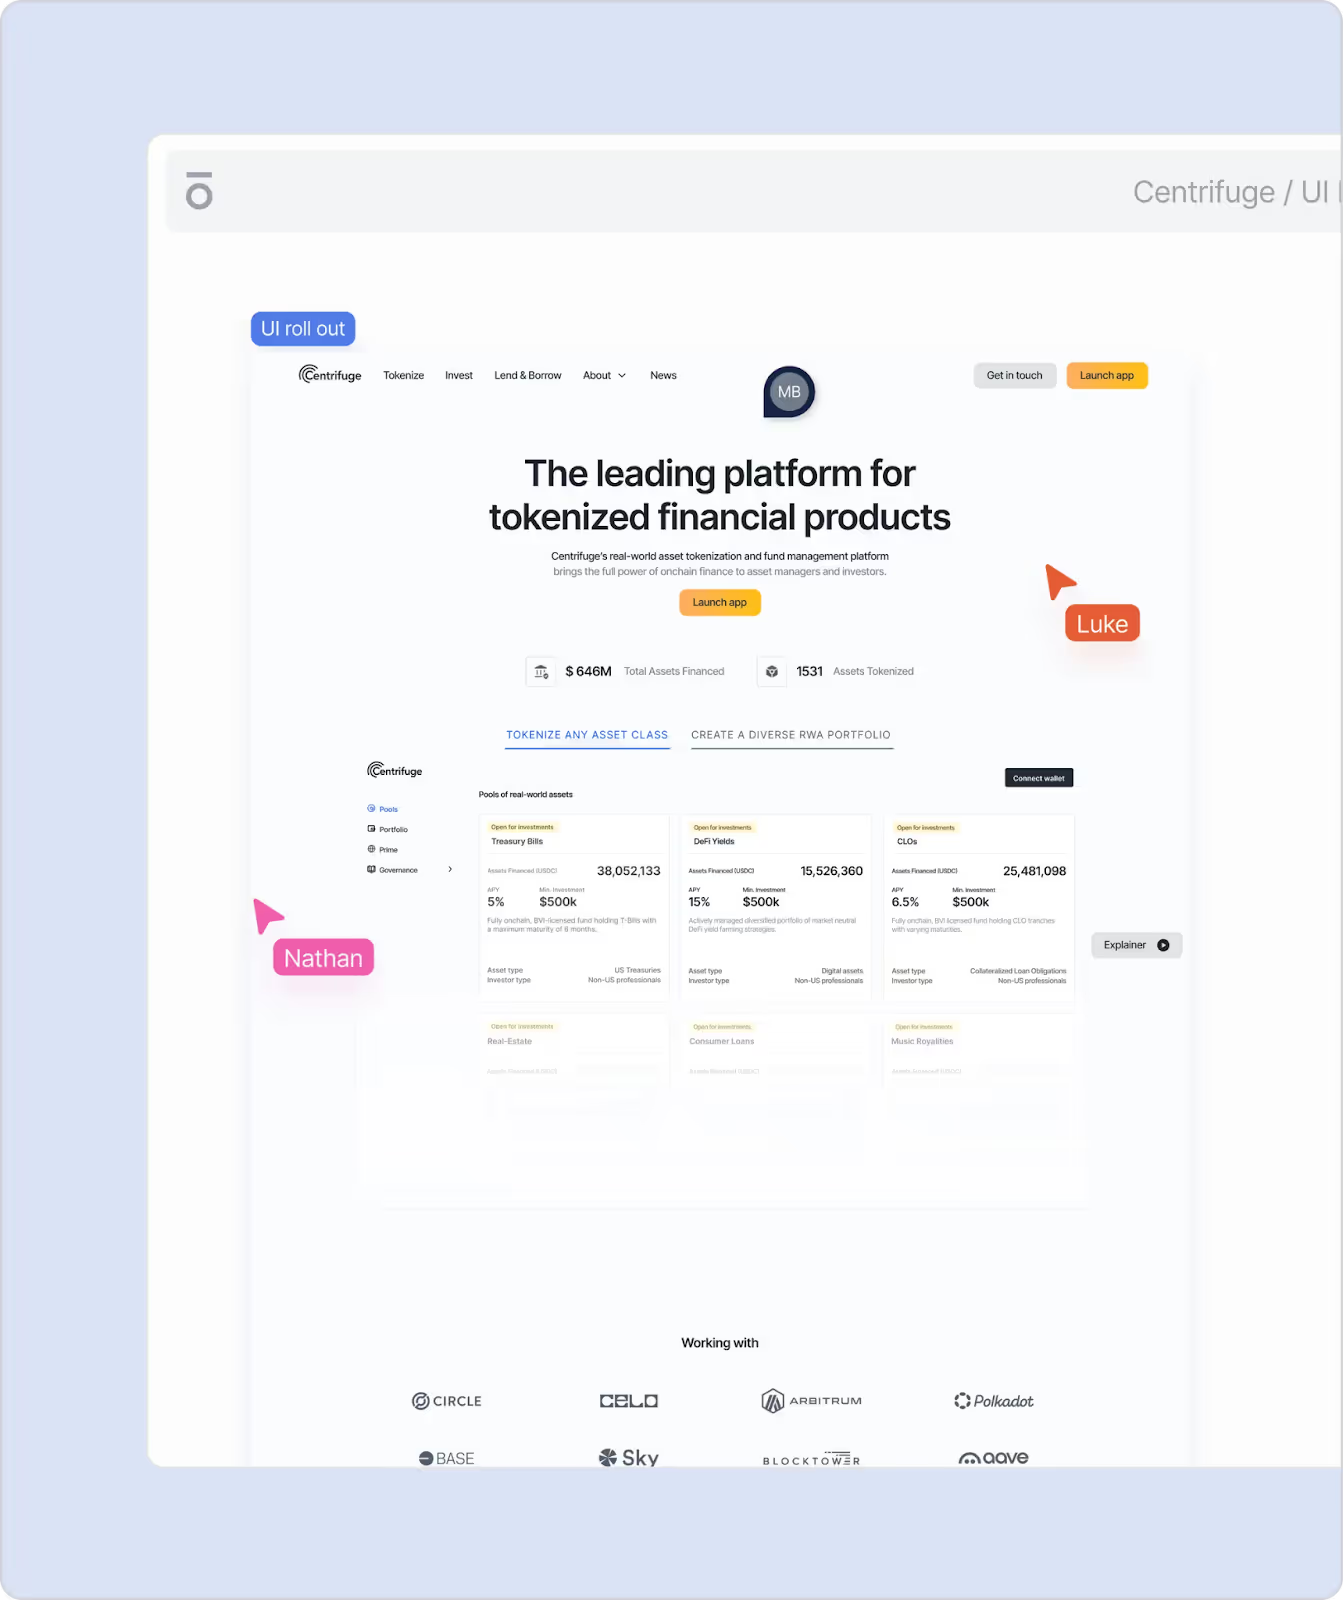
Stylescapes are next‑generation moodboards: they combine layout, color, typography, and imagery into holistic "worlds" so you can react to realistic design directions. Costs can vary widely at this stage depending on complexity. A typical sequence looks like:
- Initial stylescapes: Three distinct visual routes that mix original design work with curated graphics to explore different expressions of your brand. Consider how design choices communicate your intellectual property value and full control over the platform.
- Refined routes: Selecting two routes to refine based on valuable feedback, tightening details and stress‑testing them against your content and UX requirements.
- UI concept: Taking the lead route forward into a detailed page concept (usually the homepage), so you can see precisely how the chosen style works with your real copy and layout. Ensure error states (like an error message for failed API calls) are designed with care.
By the end of this stage you have a confident, on‑brand UI direction that you can roll out across every wireframed page without reinventing the wheel each time. This systematic approach follows an agile approach that supports iterative improvement.
Step 7: Component‑Based Design System
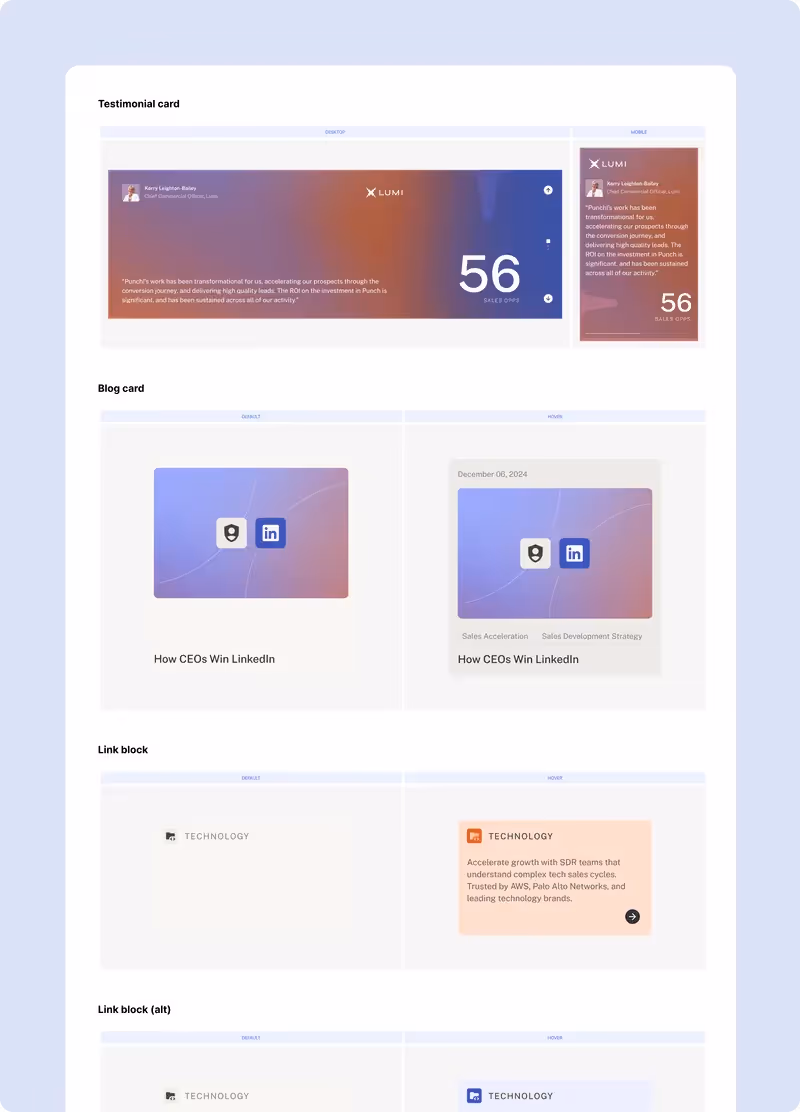
To build a saas website that's easy to scale, you don't just design pages—you design a system. A component‑based design system makes it simple for your team to add pages, launch campaigns, and iterate without breaking the experience. This is essential for SaaS application development that needs to evolve with your growing user base. A strong system is usually layered:
- Elements: The foundational building blocks such as buttons, typography styles, links, and image blocks that define your visual language.
- Components: Reusable UI units—navigation, feature cards, testimonial blocks, pricing tables, form elements—that you can drop into any page. These support your customer relationship management needs and help optimize customer lifetime.
- Sections: Configurations of components into website sections like hero blocks, feature grids, use‑case bands, comparison tables, and CTA strips.
- Templates: Full page templates (e.g., Home, Product, Pricing, Blog index, Article) built from sections so new pages can be created quickly and consistently.
This design‑system approach is what makes your site truly scalable and manageable in‑house after launch, instead of relying on one‑off bespoke layouts every time you need a new page. It's the right technology stack foundation for long-term growth.
Step 8: Content Design, Product Visuals and Motion
For SaaS, the difference between "looks nice" and "sells" often comes down to how well you visualize the product and its value. When planning your SaaS development cost, allocate resources for high-quality visuals. Content design in this context covers:
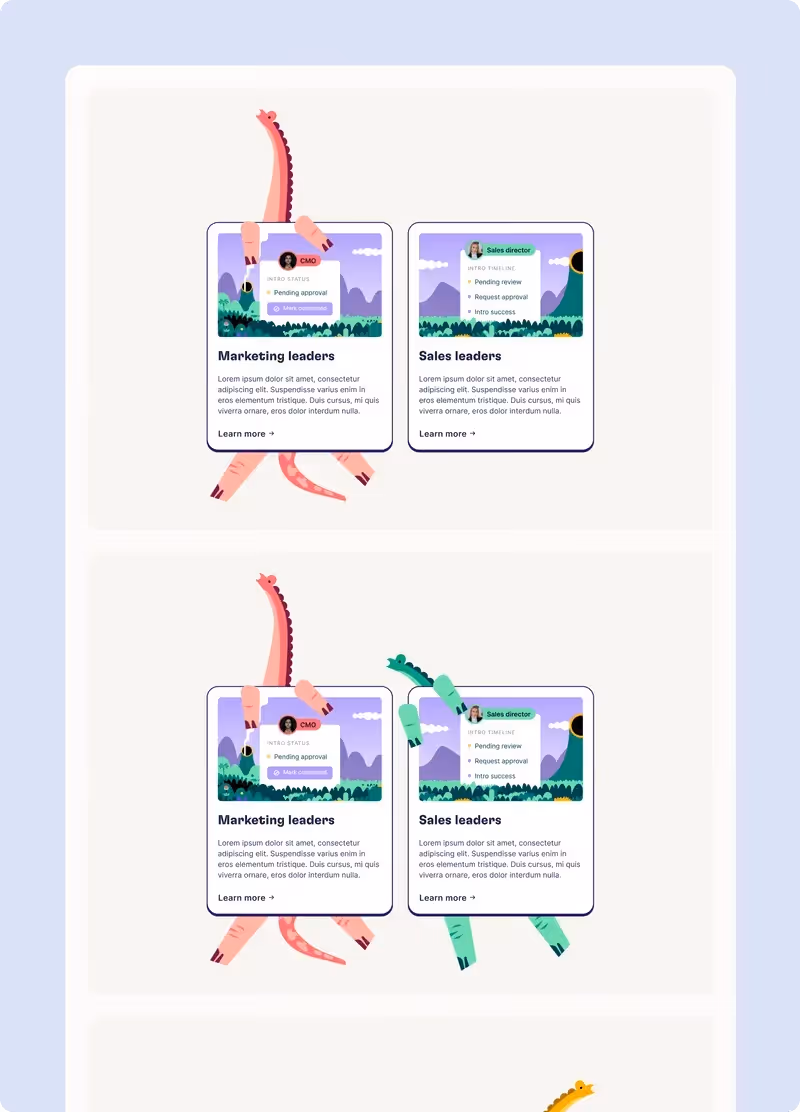
- Custom graphics and illustrations: Icons, diagrams, and illustrations that simplify complex ideas, highlight workflows, and make your offer legible at a glance. Show how your SaaS model works and why customers pay for your solution.
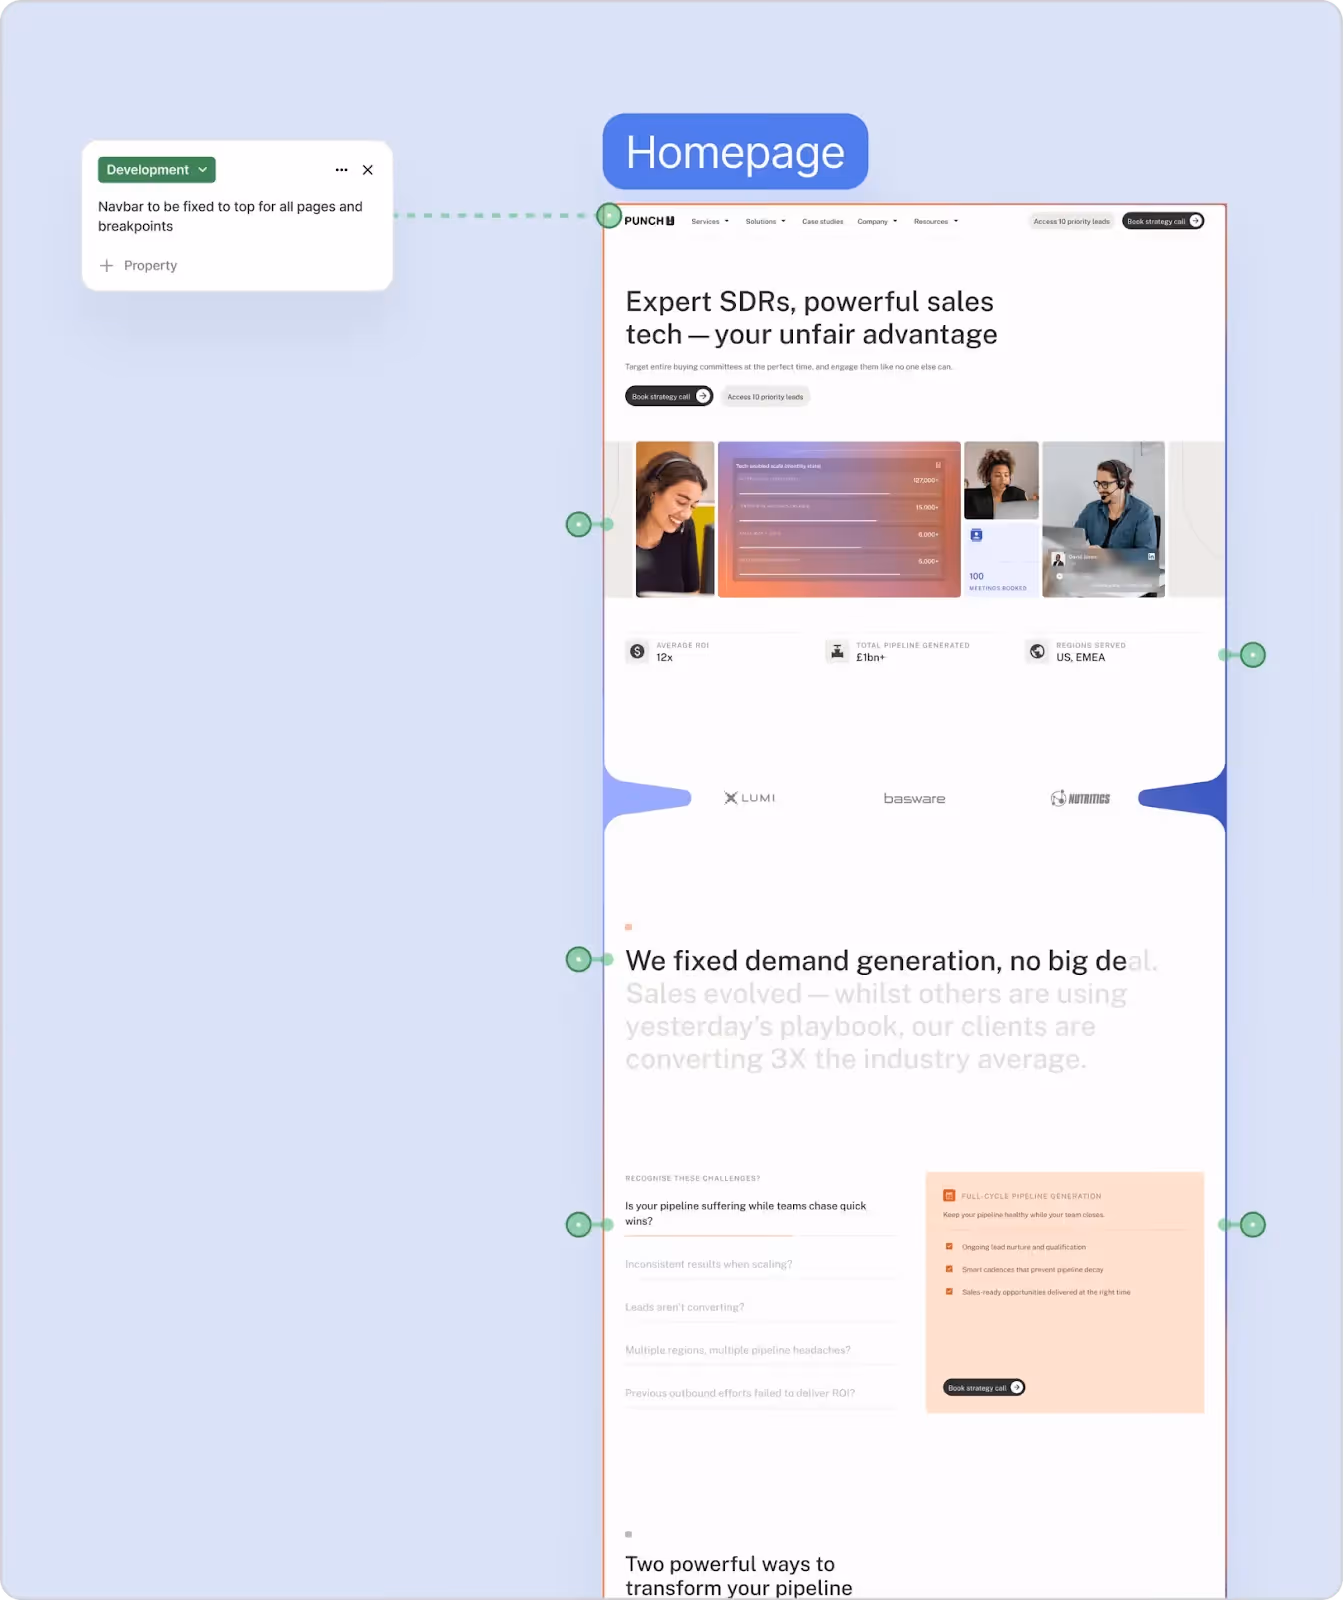
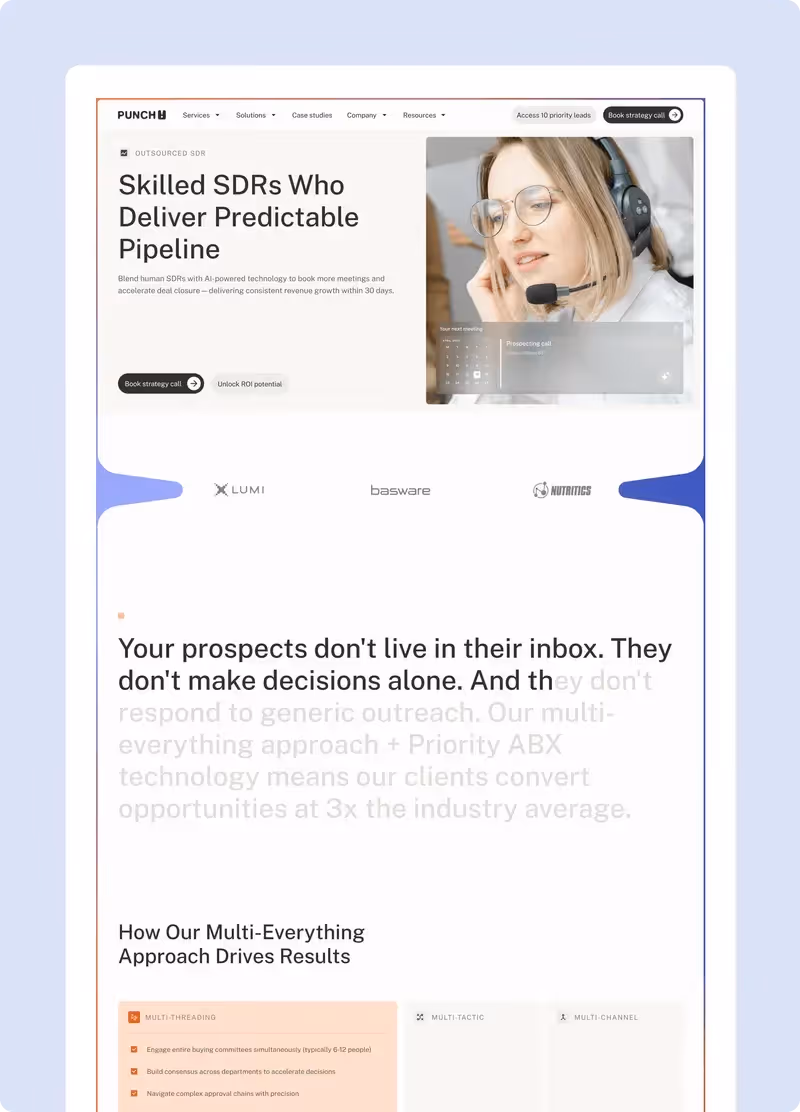
- Product visuals: Carefully curated product screenshots and UI treatments that remove noise, spotlight key features, and guide the eye to what matters. Demonstrate core features and how your cloud infrastructure delivers value.
- Motion animations: Subtle product and micro‑animations that communicate how the product works and add energy without distracting from key messages or CTAs.
Handled well, this content does the heavy lifting usually reserved for sales demos—showing prospects what life with your product looks and feels like before they talk to anyone. Consider creating a sample estimate calculator or interactive demo to provide immediate value.
See pricing
Step 9: Development Preparation and Build
Whether you work with an external dev team or build in‑house (requiring human resources with the right technology stack expertise), a thoughtful handover can save weeks of confusion and rework. Development prep should include:
- Development notes: Clear documentation of design intent for every component and section, including responsive behavior, hover states, and interactions.
- Build plan: A prioritised build roadmap that sequences work so high‑impact, high‑traffic pages ship first and value is realised earlier. Use project management tools to coordinate across teams.
From there, the build itself should focus on:
- Performance: Optimised assets, clean code or well‑structured no‑code builds, and attention to load times. Ensure your web application performs well regardless of internet connection speed.
- SEO and accessibility: Semantic structure, alt text, heading hierarchy, and accessible contrast ratios baked into the implementation. This supports content marketing efforts and helps you reach a broader target audience.
This is where a studio used to working with modern SaaS tech stacks and tools (e.g., Webflow, headless CMSs) can accelerate launch while keeping quality assurance standards high.
Step 10: Quality Assurance and Staged Launch
The final phase is about protecting the standard you've set throughout the project so nothing brittle or confusing reaches your prospects. Rigorous quality assurance ensures your SaaS solution delivers the customer experience you've promised. A rigorous QA and launch approach typically involves:
- Two‑factor QA: Two internal rounds of review before anything is shared with your team, checking alignment with designs, microcopy, interactions, and edge cases.
- Client‑side QA: Structured feedback rounds using a shared specification and feedback framework so comments are precise and manageable.
- Staged launch plan: Releasing your core pages first (e.g., Home, Product, Pricing Model, Demo) to get into market and start learning, while secondary pages and enhancements follow in subsequent sprints. This approach follows best practices from successful SaaS companies and helps you learn from real users quickly.
This staged approach means you go live with confidence, gather real‑world data from active users, and then iterate, without ever having to "start again" on a ground‑up redesign.
Bringing It All Together
When you run your SaaS website project through this kind of structured process (strategy, IA, messaging, wireframes, visual direction, design system, content, development, quality assurance, and staged launch) you dramatically reduce risk and increase the chances that your site actually drives demos and signups from day one.
This comprehensive approach to how to build a SaaS website addresses everything from SaaS development cost planning to optimizing customer lifetime value and monthly recurring revenue.
If you’d rather not assemble this process yourself, partner with a specialist B2B SaaS web design studio that already works this way: collaborative workshops, detailed specifications, wireframes and prototypes, a scalable design system, and a build plan geared around clarity, conversion, and speed to market.
Book a call
Get in touch